Original review from Writoscope Blog.
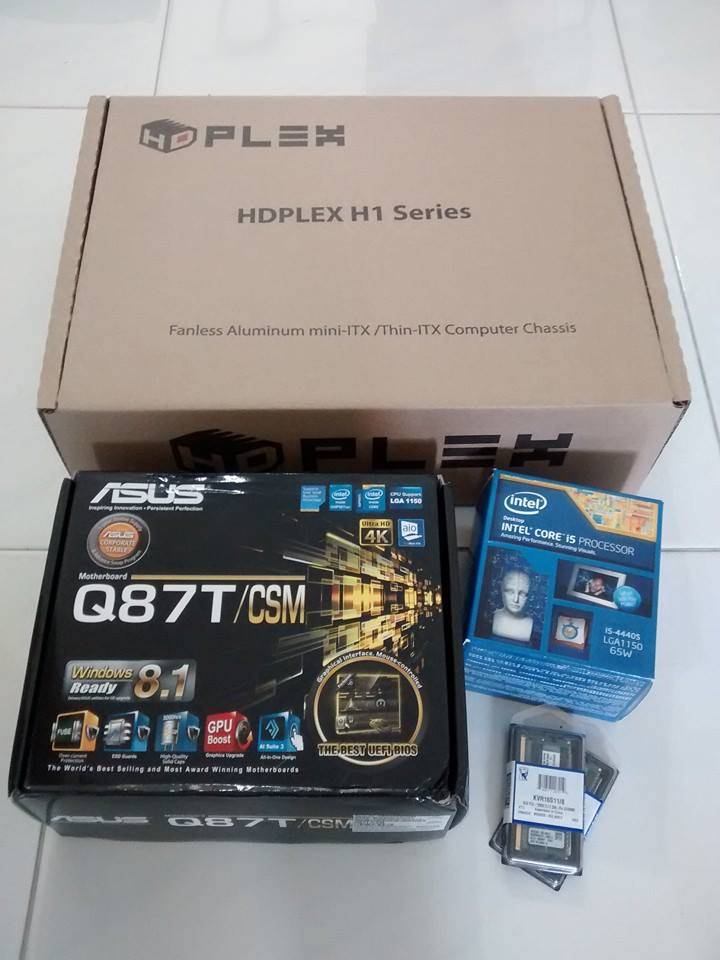
One of the best ways to start any holiday is with the sight of this:
Prior to this, I was already on an ITX build, using the Realan E-Q6, which is actually a more compact case than the H1.S. But in many ways it is an inferior product: poor fit, inadequate tolerances, and a poorly located DC jack. I was also pushed along by a few other motivations: a desire to try a thin-ITX build, and to get a new motherboard that properly supports 1440p (it seems that these days the only way to ensure this is to get a high-end motherboard that has Displayport). But those are stories for another post.
In the box #
The HDPlex H1.S comes with a hefty price tag ($179), but is physically as dense as that price suggests, for a thin-ITX case. It comes with assembly required, so be prepared to spend the better part of an afternoon on this.
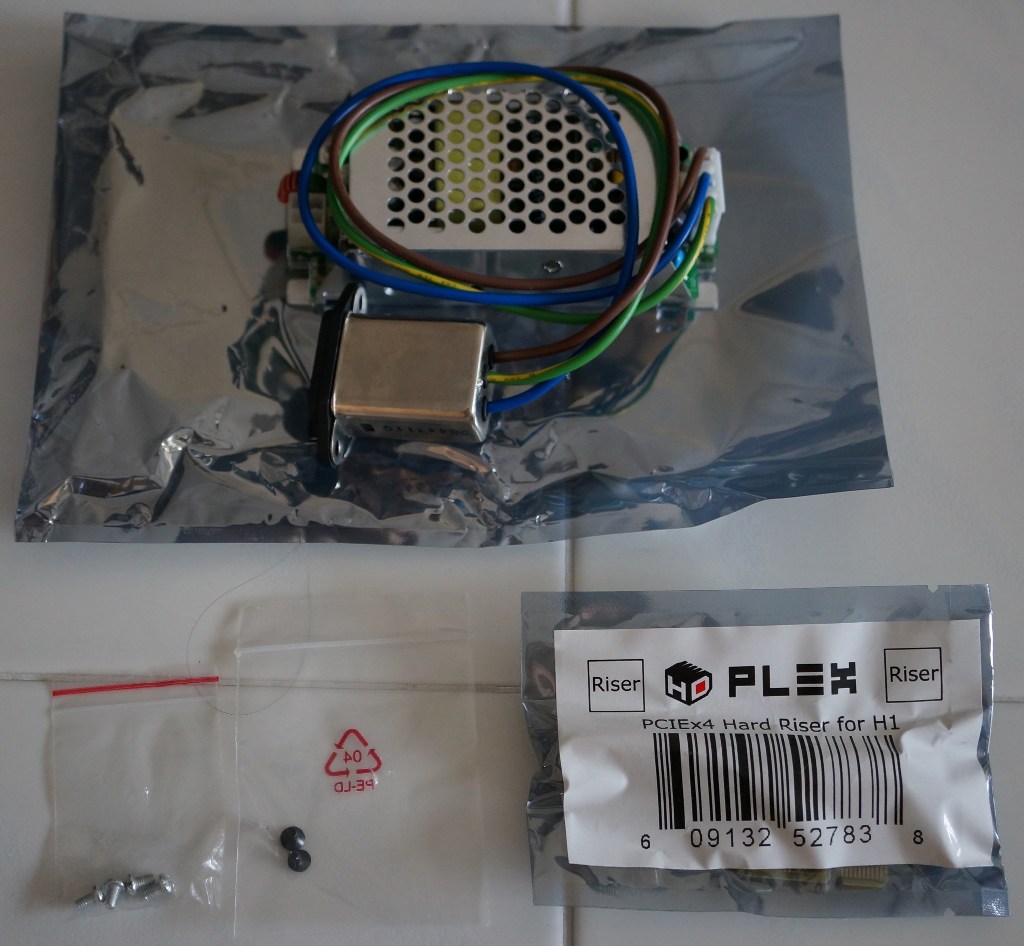
The various options, mounting plates and screws come in a velvet accessory bag. Classy. That double-stranded USB short cable looks like it could be a lot of trouble though …
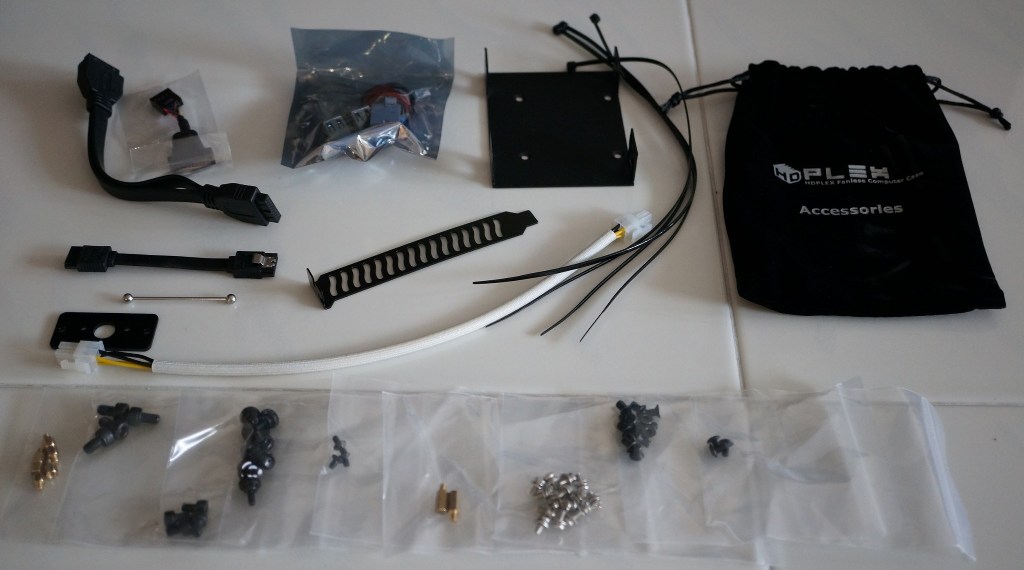
The HDPlex comes with some optionals: for power, one can opt to go with an external 19V AC adapter for thin-ITX, or an internal 120W open-frame adapter that plugs in to the 2-pin power socket on thin-ITX boards. I went with the latter, and also bundled in a PCIe ×1 riser card.
Assembly #
Bundled instructions for assembling the H1.S are skimpy at best. It starts out recommending the “M4×6 flat head HEX screws” for attaching the rubber feet to the bottom, and subsequently fails to mention what screws to use (“install the motherboard to the H1.S chassis bottom plate”), until finally deigning to mention that the aluminium top plate should be attached with M3×6 screws. Some experience with PC assembly is definitely required, and even then expect to be spending time in Google Images looking up pictures of screws. This is definitely not a product for first-time small-form-factor builders.
[Edit] There is a pictorial installation screw guide over at HDPlex forums, which should help new builders.
Got a misshapen screw on the 3-pin power socket. Not important enough for returns so I didn’t send it back.
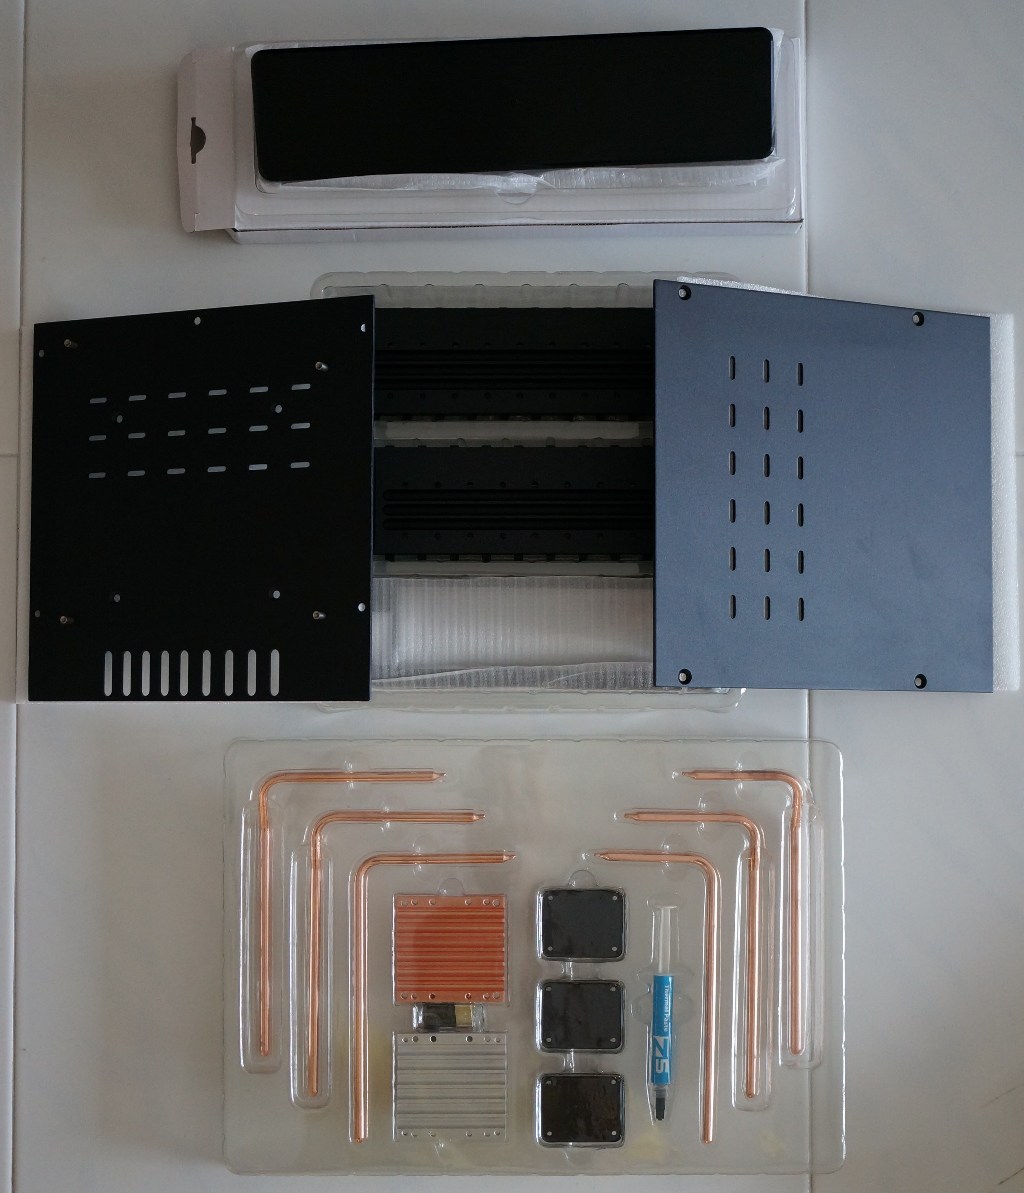
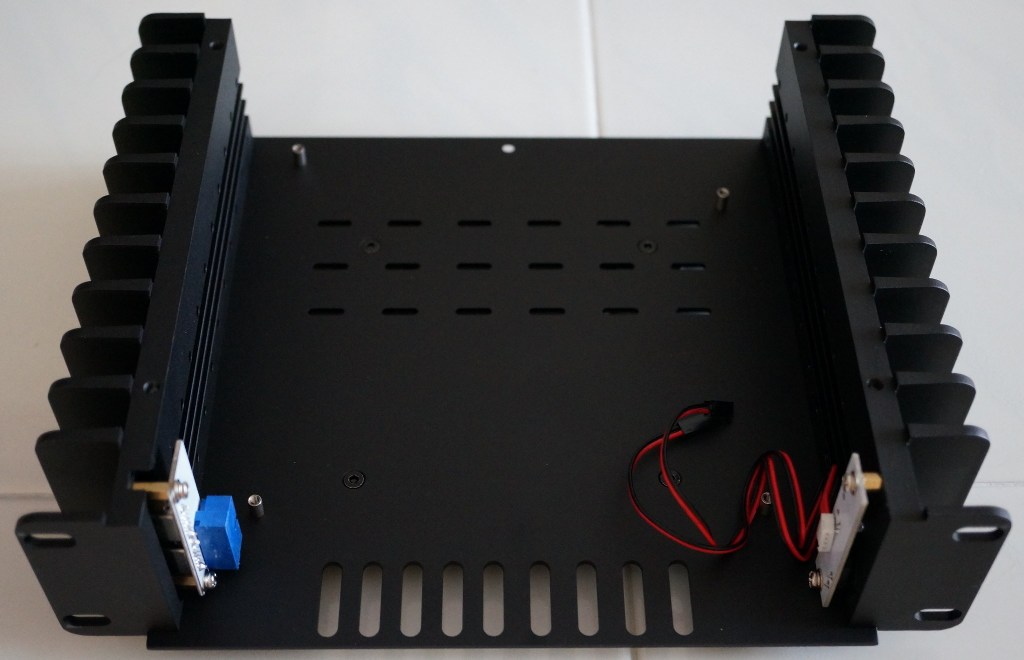
Installing the heatpipes is possibly the most arduous part of the assembly. Quite a lot of thermal paste is needed for lining the grooves into which the heatpipes will fit. I recommend putting everything in place first and checking for blockage before locking the layout in.
Testing for fit—no thermal grease applied yet. On the right side, had to fit the heatpipes between the internal USB3 and front panel pins.
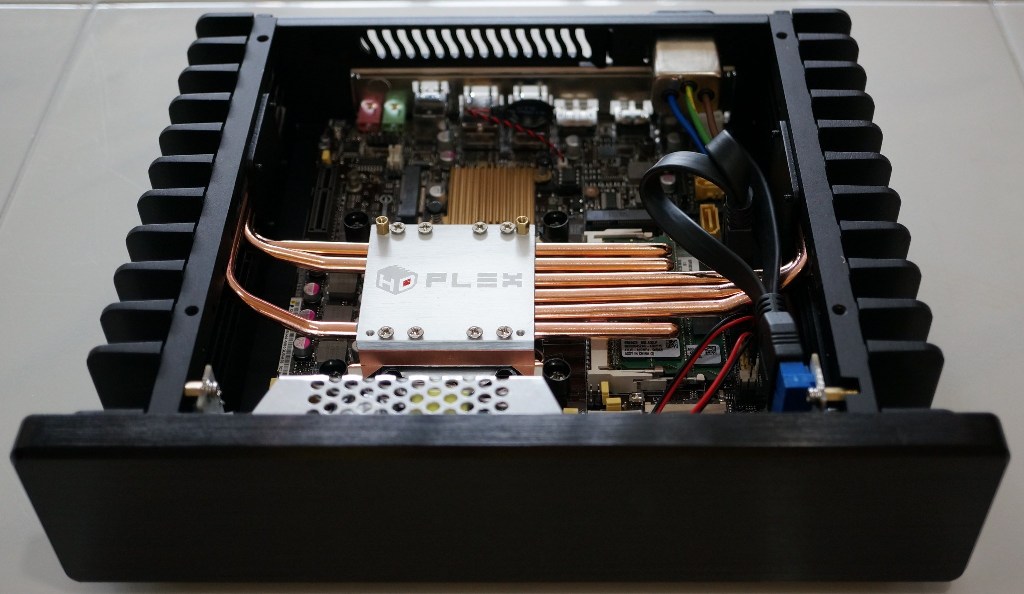
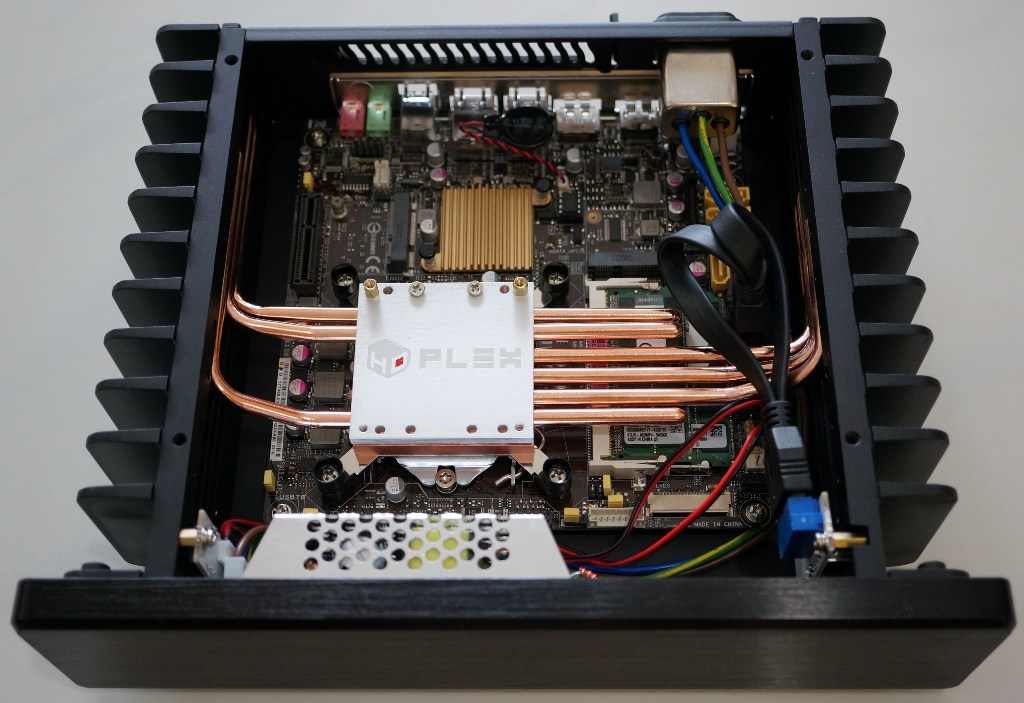
Locking it in. The heatpipes are secured to the side panels by flat aluminium plates, and to the CPU cooling block by a grooved aluminium top plate. Bend those heat pipes carefully.
Now the USB3 cable begins to look painful. Because of the way it puts two cables side by side, there is no easy way to bend it if your motherboard’s USB3 header is not placed just right. I ended up curling them later on (next pic).
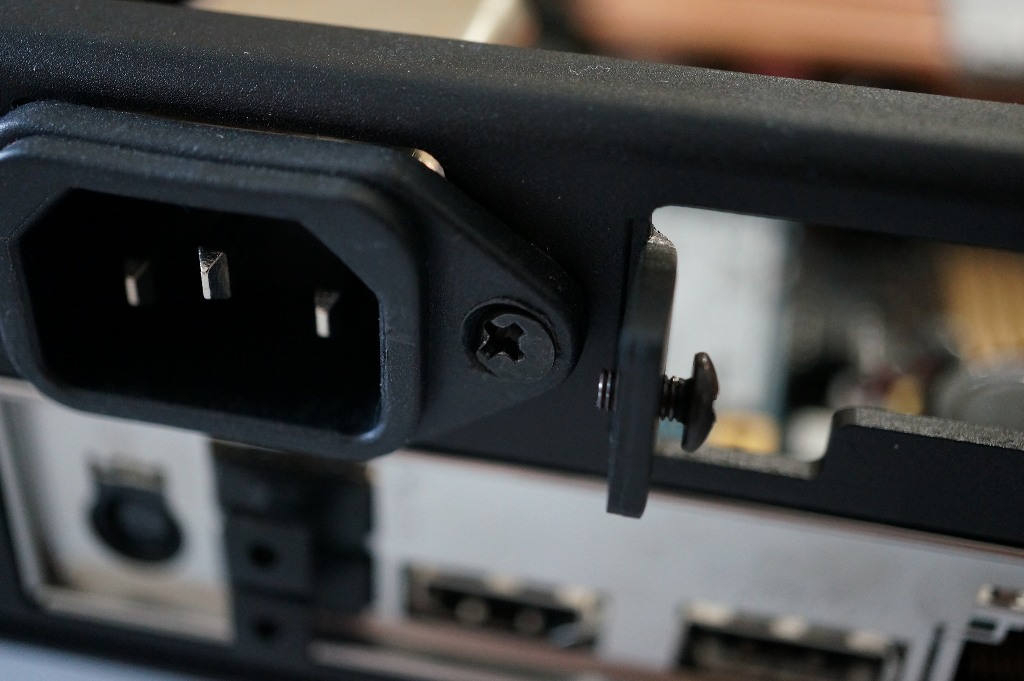
I also had to cut off two pins on the power cable to fit it into the input jack, which was right next to one of the rear panel ports.
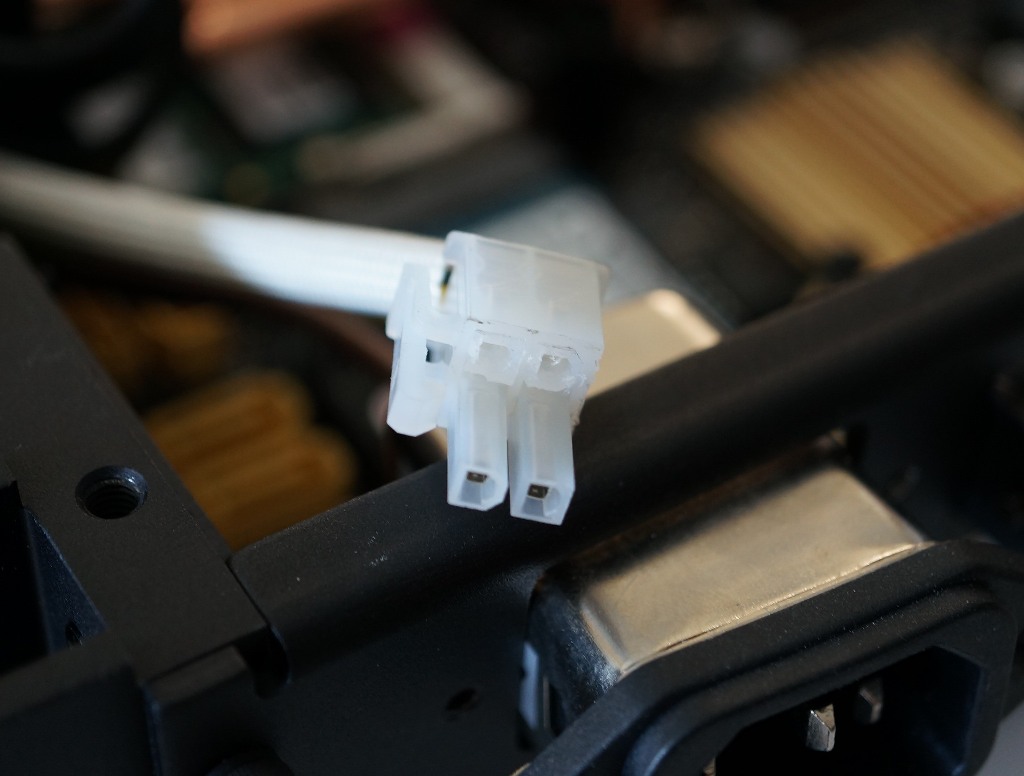
4-pin 19V input. Lopped off 2 pins to fit the 2-pin receptacle.

Fitting the 2-pin receptacle. DC 19V input jack is right behind.
A 2.5″ disk mounting plate is provided. Fits 2 disks. This cannot be used simultaneously with a full-length PCIe card. I’m using it with a 2.5″ SSD temporarily while waiting for my mSATA disk to arrive.
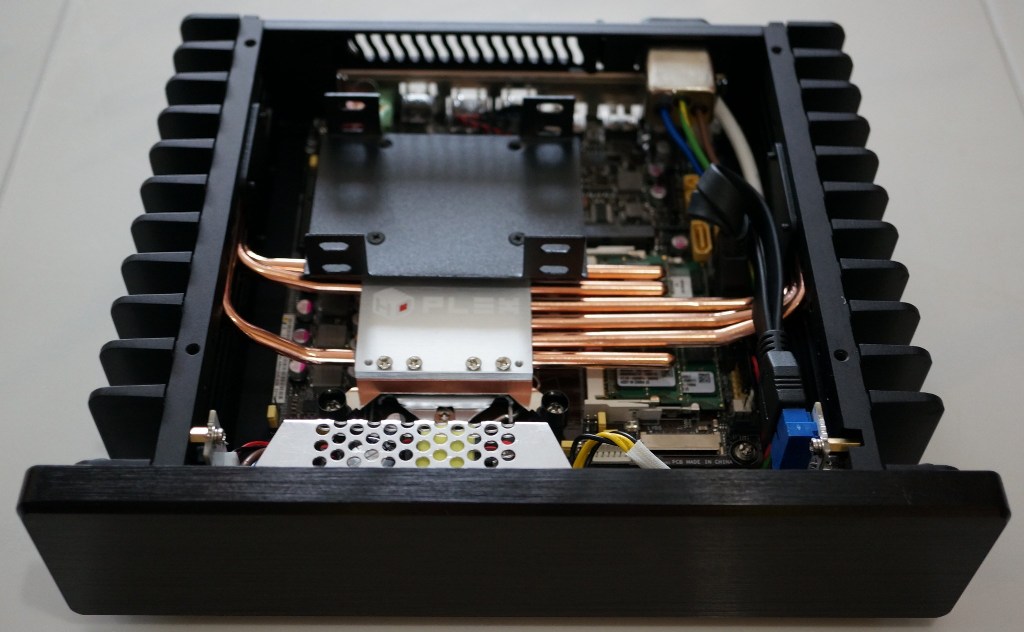
SSD mounting plate attached
Once the case starts coming together, all the little abovementioned oversights start to melt away. The case is beautifully machined, and things fit just right. The cables are as long as they need to be (excepting the USB3 header cable), and there is a heft to the whole assembly that feels really premium.
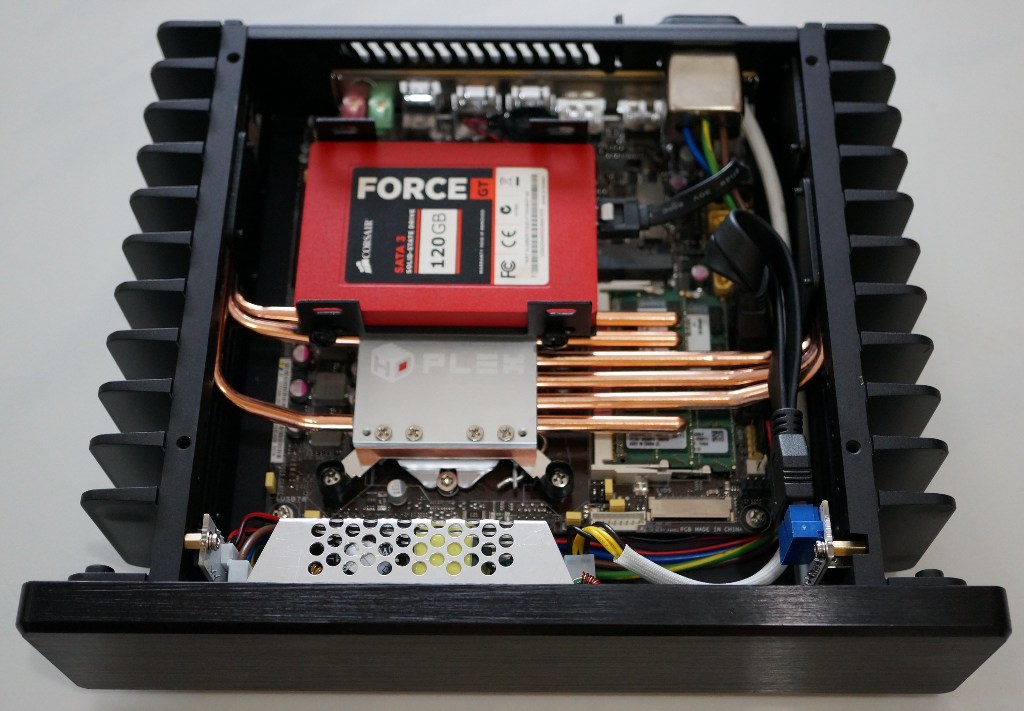
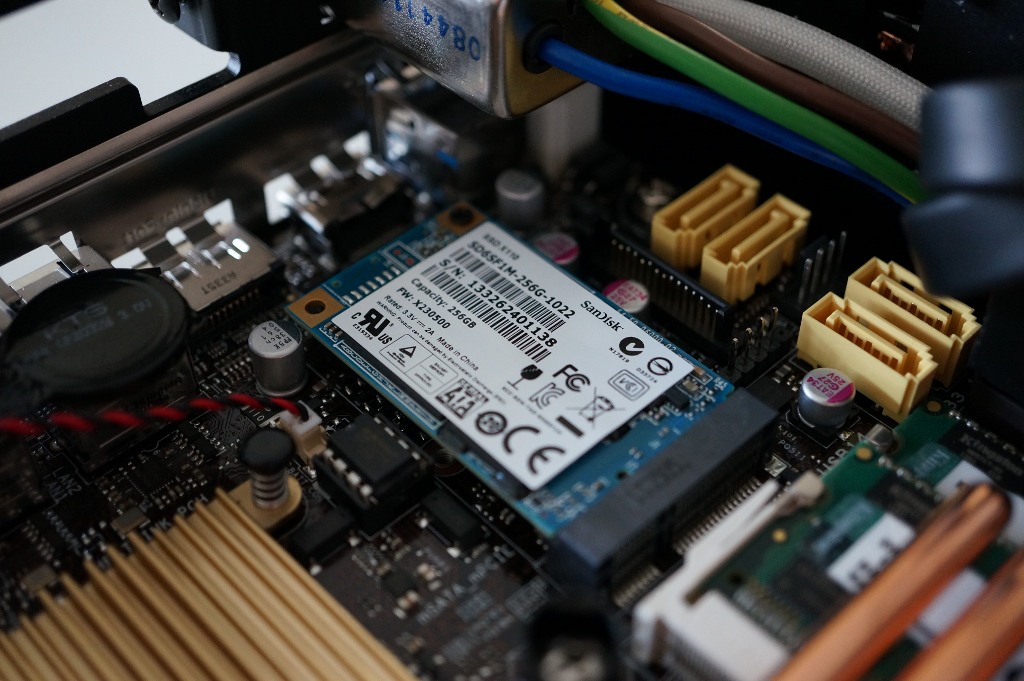
Sandisk X110 256GB SSD
With the mSATA disk in place, this becomes a truly minimalist build. Would have been nice with some cable management grooves in those thick aluminium plates, but I’m really asking for the stars at this point.
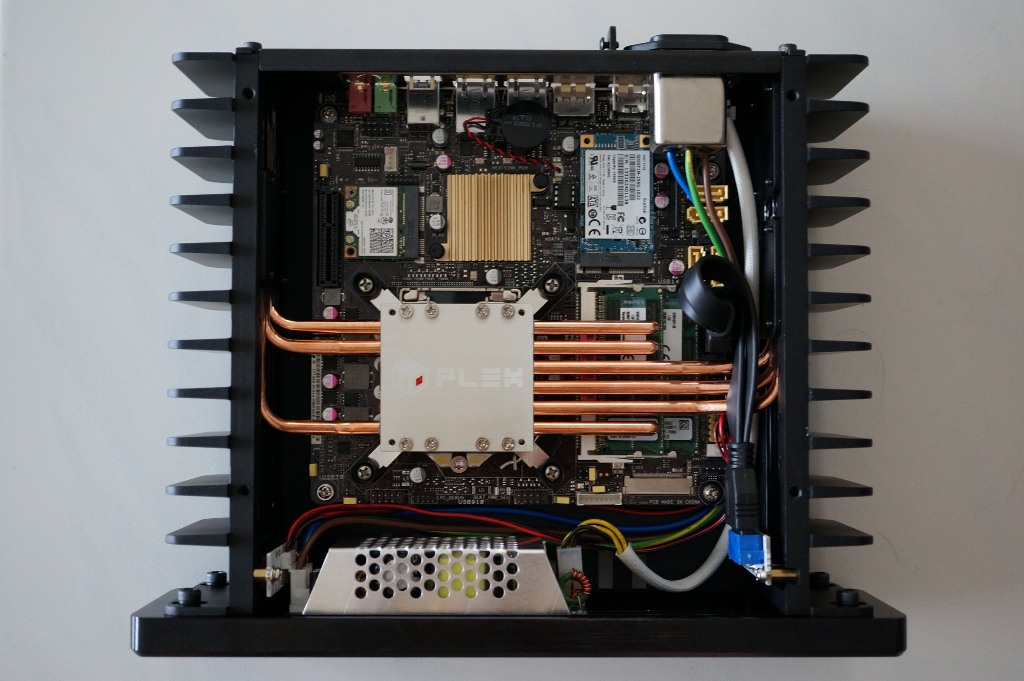
Complete build, minus PCIe card and wifi antennae
First Impressions #
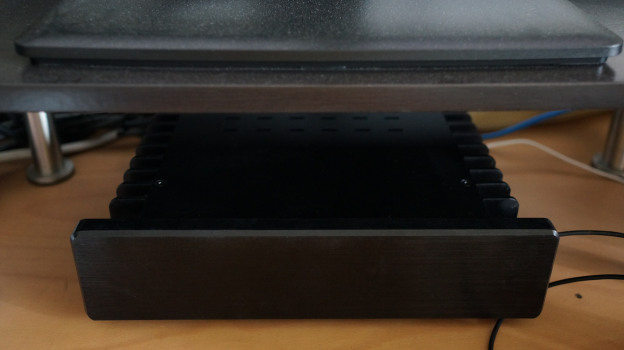
It looks right at home on the desk, below the home-built 27″ monitor shelf.

I’m still getting to the complete silence that ensues when I press the power button. The usual whooosh of fans spinning up is no longer there.
The power LED on the HDPlex H1.S is on the left, hidden between the frontplate and one of the fins. It’s only noticeable when looking at it from the left, or if something reflects that LED light. Very pleasing, understated styling for a self-built system; physical buttons only need to be obvious for off-the-shelf systems that can’t expect users to know where everything is.
Thermal performance is pretty impressive. On the website, Larry claims the H1.S supports “TDP up to 55W CPU”. In my testing with the i5-4440S (65W), the system idles at 47°C, and at load (x264 encoding) it goes up to 65°C. Pretty impressive considering ambient temperatures here are about 29°C.
The mSATA disk is a different issue though. It idles at around 50°C, and at load I have seen it go up to 75°C! This is not the H1.S’s fault; the X110 apparently consumes up to 5.2W on disk load. I would recommend getting an mSATA disk with lower power consumption, so that it won’t heat up too much. Intel’s 530 mSATA disk is the leader in this area, with a load power of up to 2.6W.
Conclusion #
I don’t have any Editor Awards to give out, but here’s a big thank you to Larry for such a fantastic product. If he has any plans for NUC/BRIX cases, my eyes are definitely peeled